
GENERAL WASHING ADVICE
You should always start by checking the instructions on the care label. But as a generally we advise washing your gear only when it really needs it. Machine washing leads to wear and tear of your clothing and sleeping bags, and places strain on zips, Velcro, and other trims. And because it uses a lot of water and energy, excessive machine washing isn’t kind to nature.
Instead, we recommend hand washing dirty areas with warm water, mild soap or detergent and a sponge, or even just hanging your clothing or sleeping bag up to air out.
If you do choose to machine wash, please follow care instructions closely. Some items are hand-wash only (not even delicate or hand-wash cycles in the machine). For items that can be machine washed, we recommend doing so in cold water. Remember that washing with cold water instead of hot uses less energy and helps prevent shrinkage. Make sure to use a detergent suited to the garment you are washing. Try to avoid using fabric softener, which leaves a waxy residue that can impair the functionality of your gear (e.g. affecting its ability to wick away moisture).
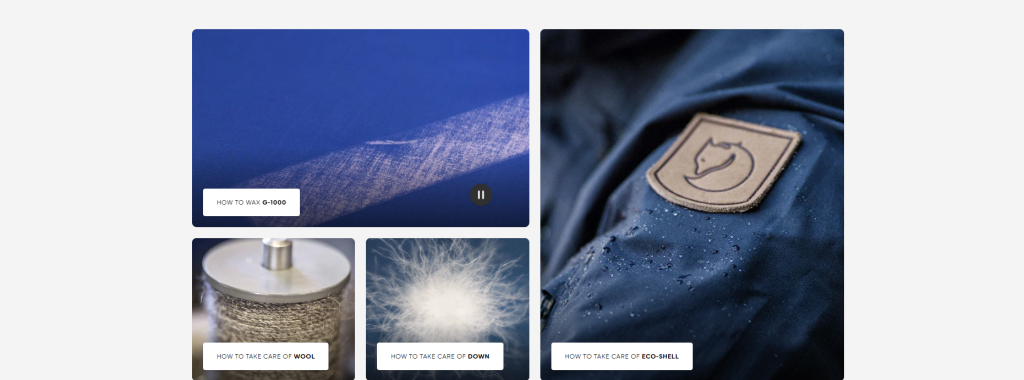
When it comes to drying, we recommend hang drying whenever possible to reduce wear on your items, prevent shrinkage, and prolong the life of your gear. Note that some products (such as wool sweaters) should never be tumble dried, even on low temperature settings. One way to dry your clothing faster while avoiding chemical fabric softeners is to use dryer balls.Natural fibers often require specialized care. For more information on how to take care of down or wool products, please visit the links below:
CARING FOR KÅNKEN
Whatever you do, don’t put Kånken in the washing machine. Instead, wash dirty marks with lukewarm water, mild detergent and a soft brush or sponge. And when it comes to drying, you should hang up Kånken in a well-ventilated area that’s not exposed to direct sunlight. As it is drying, your bag may need some gentle hand reshaping. Because our warranty doesn’t cover stains or discoloration of an item from use, we recommend regular cleaning and maintainance.
These cleaning tips apply to Kånken Classic styles, made from Vinylon-F. Cleaning Kånkens made from G-1000 (like the No. 2) is a similar process, but we recommend waxing the bag after cleaning to prolong the life of the item. *Kånkens made from G-1000 canvas can/should be waxed using our Greenland Wax. Please refer to the Materials Specification section on the product pages to determine if your Kånken can be waxed.
To get those really vibrant colors, we use a special dying technique. But this means there’s a chance the colour can rub off on your clothes – particularly light coloured clothing. So we recommend soaking Kånken in lukewarm water for 10-15 minutes before you start using it. Keep in mind that color transfer can go in both directions. Color from dark colored clothing can transfer to Kånken as well (for example, indigo dye from a new pair of jeans).
ADDITIONAL TIPS
Don’t overfill Kånken. We have many size options, so if you want to carry more, we recommend sizing up. The standard Kånken Classic backpack has a 16-liter volume, and although we don’t have an official max weight-limit, you should keep it to just a few pounds.
Don’t put a laptop in a regular Kånken, either. That back pocket is made for folders, note pads, perhaps a tablet computer, but not a laptop. It puts too much strain on the straps and zips. Get a Kånken Laptop instead. There are three Kånken Laptop sizes to choose from, so you can find one to suit you. If you are in between laptop sizes, please size up to avoid putting strain on the item.
If you get something stuck in Kånken’s zips, avoid yanking it free. If you can’t gently work the obstruction free, the item may need to be repaired.
If rips, tears, or cuts occur, make sure you fix them straight away. The longer you leave them, the bigger they’ll get and the harder they become to repair.
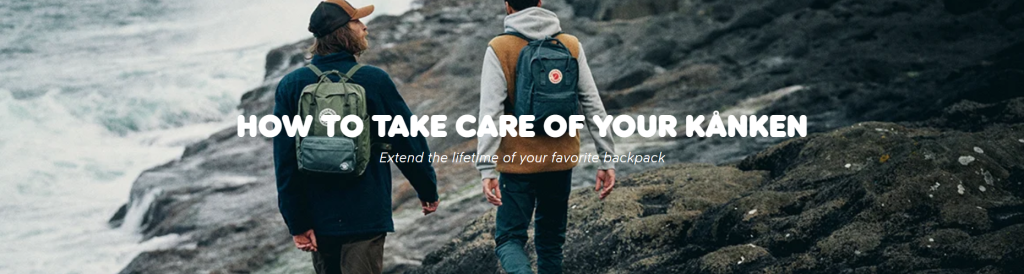
EXTEND THE LIFETIME OF YOUR FAVORITE BACKPACK
We’re not quite sure when it happened, but Kånken has become a trusted essential for millions of people around the world. It’s the backpack you take with you on adventures, shopping, to school or work.
It’s a simple bag, but with the right care it can last for many adventures to come.

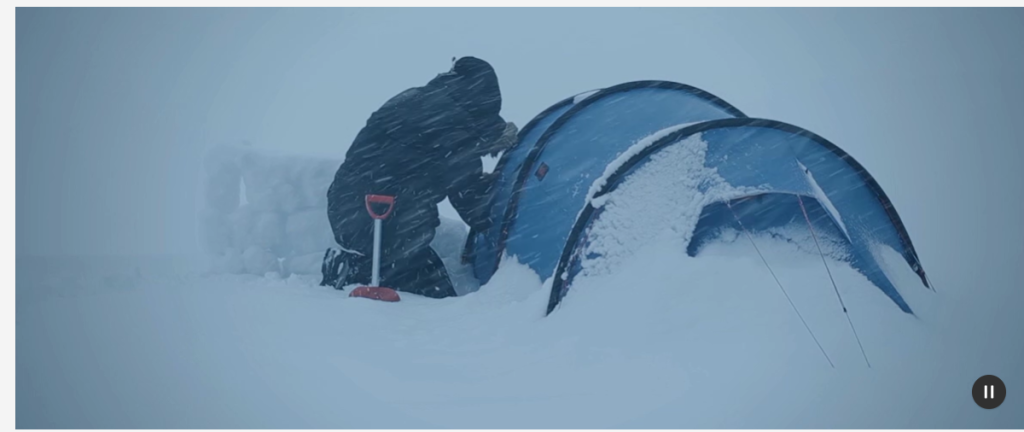
Your tent is your home in nature, so take care of it accordingly. A well-loved and cared for tent is the difference between a night to remember and a night to forget.
CLEANING & DRYING YOUR TENT
Regardless of whether you’ve had rain or sunshine, when you arrive home from an adventure you should clean and air your tent. Generally, brushing the inside to remove sand, twigs, leaves etc. and a rinse with lukewarm water on the outside are enough after short trips. But longer excursions might require a more thorough wash. Just never put your tent in the washing machine. Instead, use a sponge, gentle soap and some warm water to clean away dirty marks. Don’t forget to clean the poles and zips too, especially if you’ve been beach camping, as the sand and salt can be bad news for metal parts.
Leave your tent in a well-ventilated area, preferable outdoors, to dry fully.
STORING YOUR TENT
Never store your tent damp, this could lead to mould which will eventually destroy your tent. Always air it thoroughly before storing it away for the season.
It’s best to store your tent in a well-ventilated area. Don’t use the tent bag. Instead hang the tent in a cupboard. If that’s not possible loosely fold it and store it in a pillowcase, or cover it with a towel, and store it in your wardrobe.
Take your tent out of storage a day or two before heading into the great outdoors again, to give it a thorough airing, to check that no mould has formed and to make sure you have all the parts. Check your zips too. They might need a little oil or wax to ensure they open and close smoothly.
REPAIRING YOUR TENT
Over the lifetime of your tent the odd repair, here and there, is likely. All our tents come with a repair kit that includes: a reserve guyline; a spare pole section for each pole diameter the tent uses; and a pole repair tube. There’s also a needle and thread, and tent fabric patches for the flysheet, inner tent and ground sheet.
For longer trips, we also recommend taking a multi-tool – one that has pliers – and some duct tape, just in case something happens and you need to make emergency repairs on the go.
- Guylines
The easiest way to repair a guyline is by tying a knot. If you’ve already knotted it a few times, it’s best to switch it out for a new guyline. Remember to burn the ends of any new guylines to prevent fraying. - Tent Pegs
Bent tent pages can usually be straightened with the help of a sturdy walking boot and some gusto. But pliers also do the job well. - Tent Poles
You can replace broken sections with the reserve in your repair kit. Take off the aluminium plug at the end of the pole. Untie the knot in the elastic cord. Separate the sections of the pole and remove them from the cord. Replace the damaged section with the reserve and re-thread all the pole sections back onto the elastic cord. Tie a new knot then replace the aluminium plug.
If you don’t have another reserve, you can slide the spare pole repair tube over the broken section. It’s a good idea to try and shape the broken ends to make them as round as possible. This reduces the risk of broken edges damaging the elastic cord. Once the tube is in place, tape it at both ends with duct tape (not supplied). - Fabric
Sew up any rips as soon as you see them. Then glue the repair patch with seam-sealer glue onto the outside of the tent, then sew around the edges of the patch to secure it in place. Don’t forget to seal the stiches with seam sealer.
You can repair any rips or tears in the ground sheet using the self-adhesive patch in the repair kit. Remember to cover the hole on both the inside and outside of the ground sheet. - Zips
You can make an emergency repair by taping the inside to seal it then running a few stitches through the fabric every 4in or so.
You can read our general care advice here. And if you want general camping and outdoor tips, visit our blog: The Foxtrail.
And finally, don’t leave Kånken in direct sunlight. The color will fade and develop a patina naturally over time, but direct sunlight will fade the fabric faster. Kånken prefers shade or indirect sunshine.
We believe with enough love your Fjällräven gear should last for many adventures. But even our most hardwearing items aren’t completely immune to mishaps, wear and tear. With that in mind, we’ve created the following guides to help you prolong the life of your garments. So rather than throwing it away, you can repair that jacket, shirt or pair of trousers in time for your next adventure.
In-Store Repair Services
Repairing your products means less consumption while decreasing your environmental impact. We know that when something is well-loved, you don’t want to let go of it. To that end, we will assess items for repair for the lifetime of each Fjällräven product. Our repair services can help ensure that you can continue using your favorite Fjällräven products for as long as possible.
Repair services are offered in our Flagship Retail Locations as well as through our Limited Lifetime Warranty.
See our list of Flagship locations below.
GENERAL STORAGE ADVICE
Some of your Fjällräven products will become firm favorites that you’ll use on an almost daily basis. But others (like tents, sleeping bags, and big warm winter jackets) are more like rare treasures. Storing them correctly is vitally important. A damp or poorly ventilated storage area is your gear’s worst enemy, since such conditions are a breeding ground for mold and mildew. It’s important to store your gear in dry, well-ventilated areas away from direct sunlight and heat. The best storage for down insulation in jackets and sleeping bags is to leave them fully lofted and uncompressed.
Certain products, such as Eco-Shell and G-1000 garments, will most likely need re-impregnating after storage.